 Monday: French Manicure for Dummies")
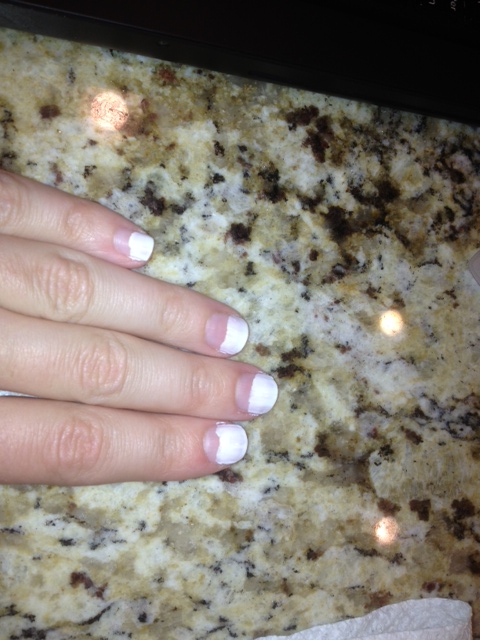
Step one: apply a sloppy but thin layer of white polish on your tips. Step 2: Admire you granite countertops while overlooking pork chops for dinner and letting the first coat of white dry completely. We’re talking 40 minutes between coats. Just enough time to make dinner, eat it, sit for a few and slap on layer n??mero dos (aka step 3).

Step 3.5: lots of drying time on this coat also. It’s actually quite nice because you can read blogs or books or watch tv and justify it because you are saving money on a home done mani!
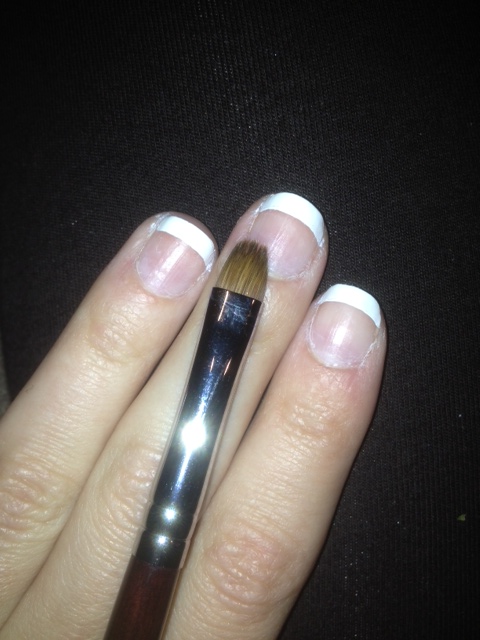
Step 4: dip small nail brush in cap full of polish remover, dab on paper towel then begin erasing that sloppy mess you made on your tips.
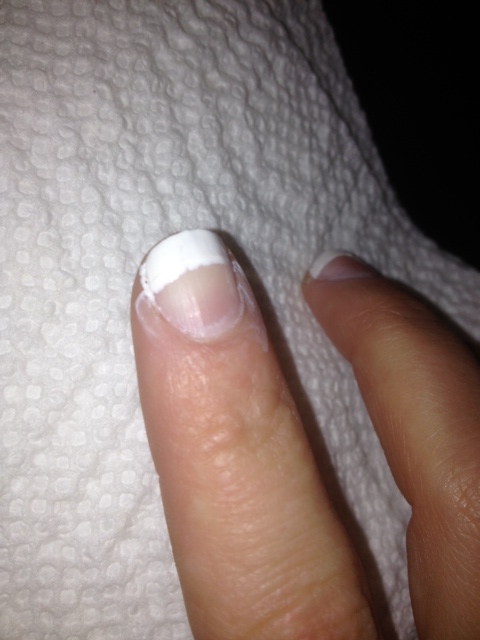
Step 5: slow and steady win the French mani race. I usually end up dip, dab, swipe six-eight times per nail. It’s a fun challenge to see if you can do it faster but believe me, it’s easier to make small changes than have to reapply the white base! The in between swipes (see above) are pretty, but you’ll get that crisp line with a damp, not dripping brush. I use pure acetone as my eraser as it dries quick in case you get remover happy and it makes for the crispest lines.
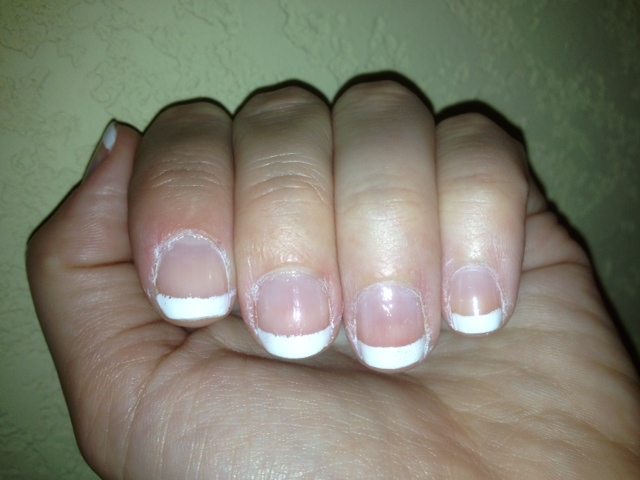
Step 6: apply a clear coat over. Only one though!! If you apply it thick or more than once, it can make your lines blurry. Tomorrow night, when your drinking wine instead of giving yourself a 1.5 hour mani, you can throw on another top coat. And a ton of lotion, all that polish remover will seriously dry out the cuticles!
Step 7: be damn proud of yourself for the hard work you put in. Nothing pretty is easy and nothing fast is pretty. At least not in house for homedone manis!